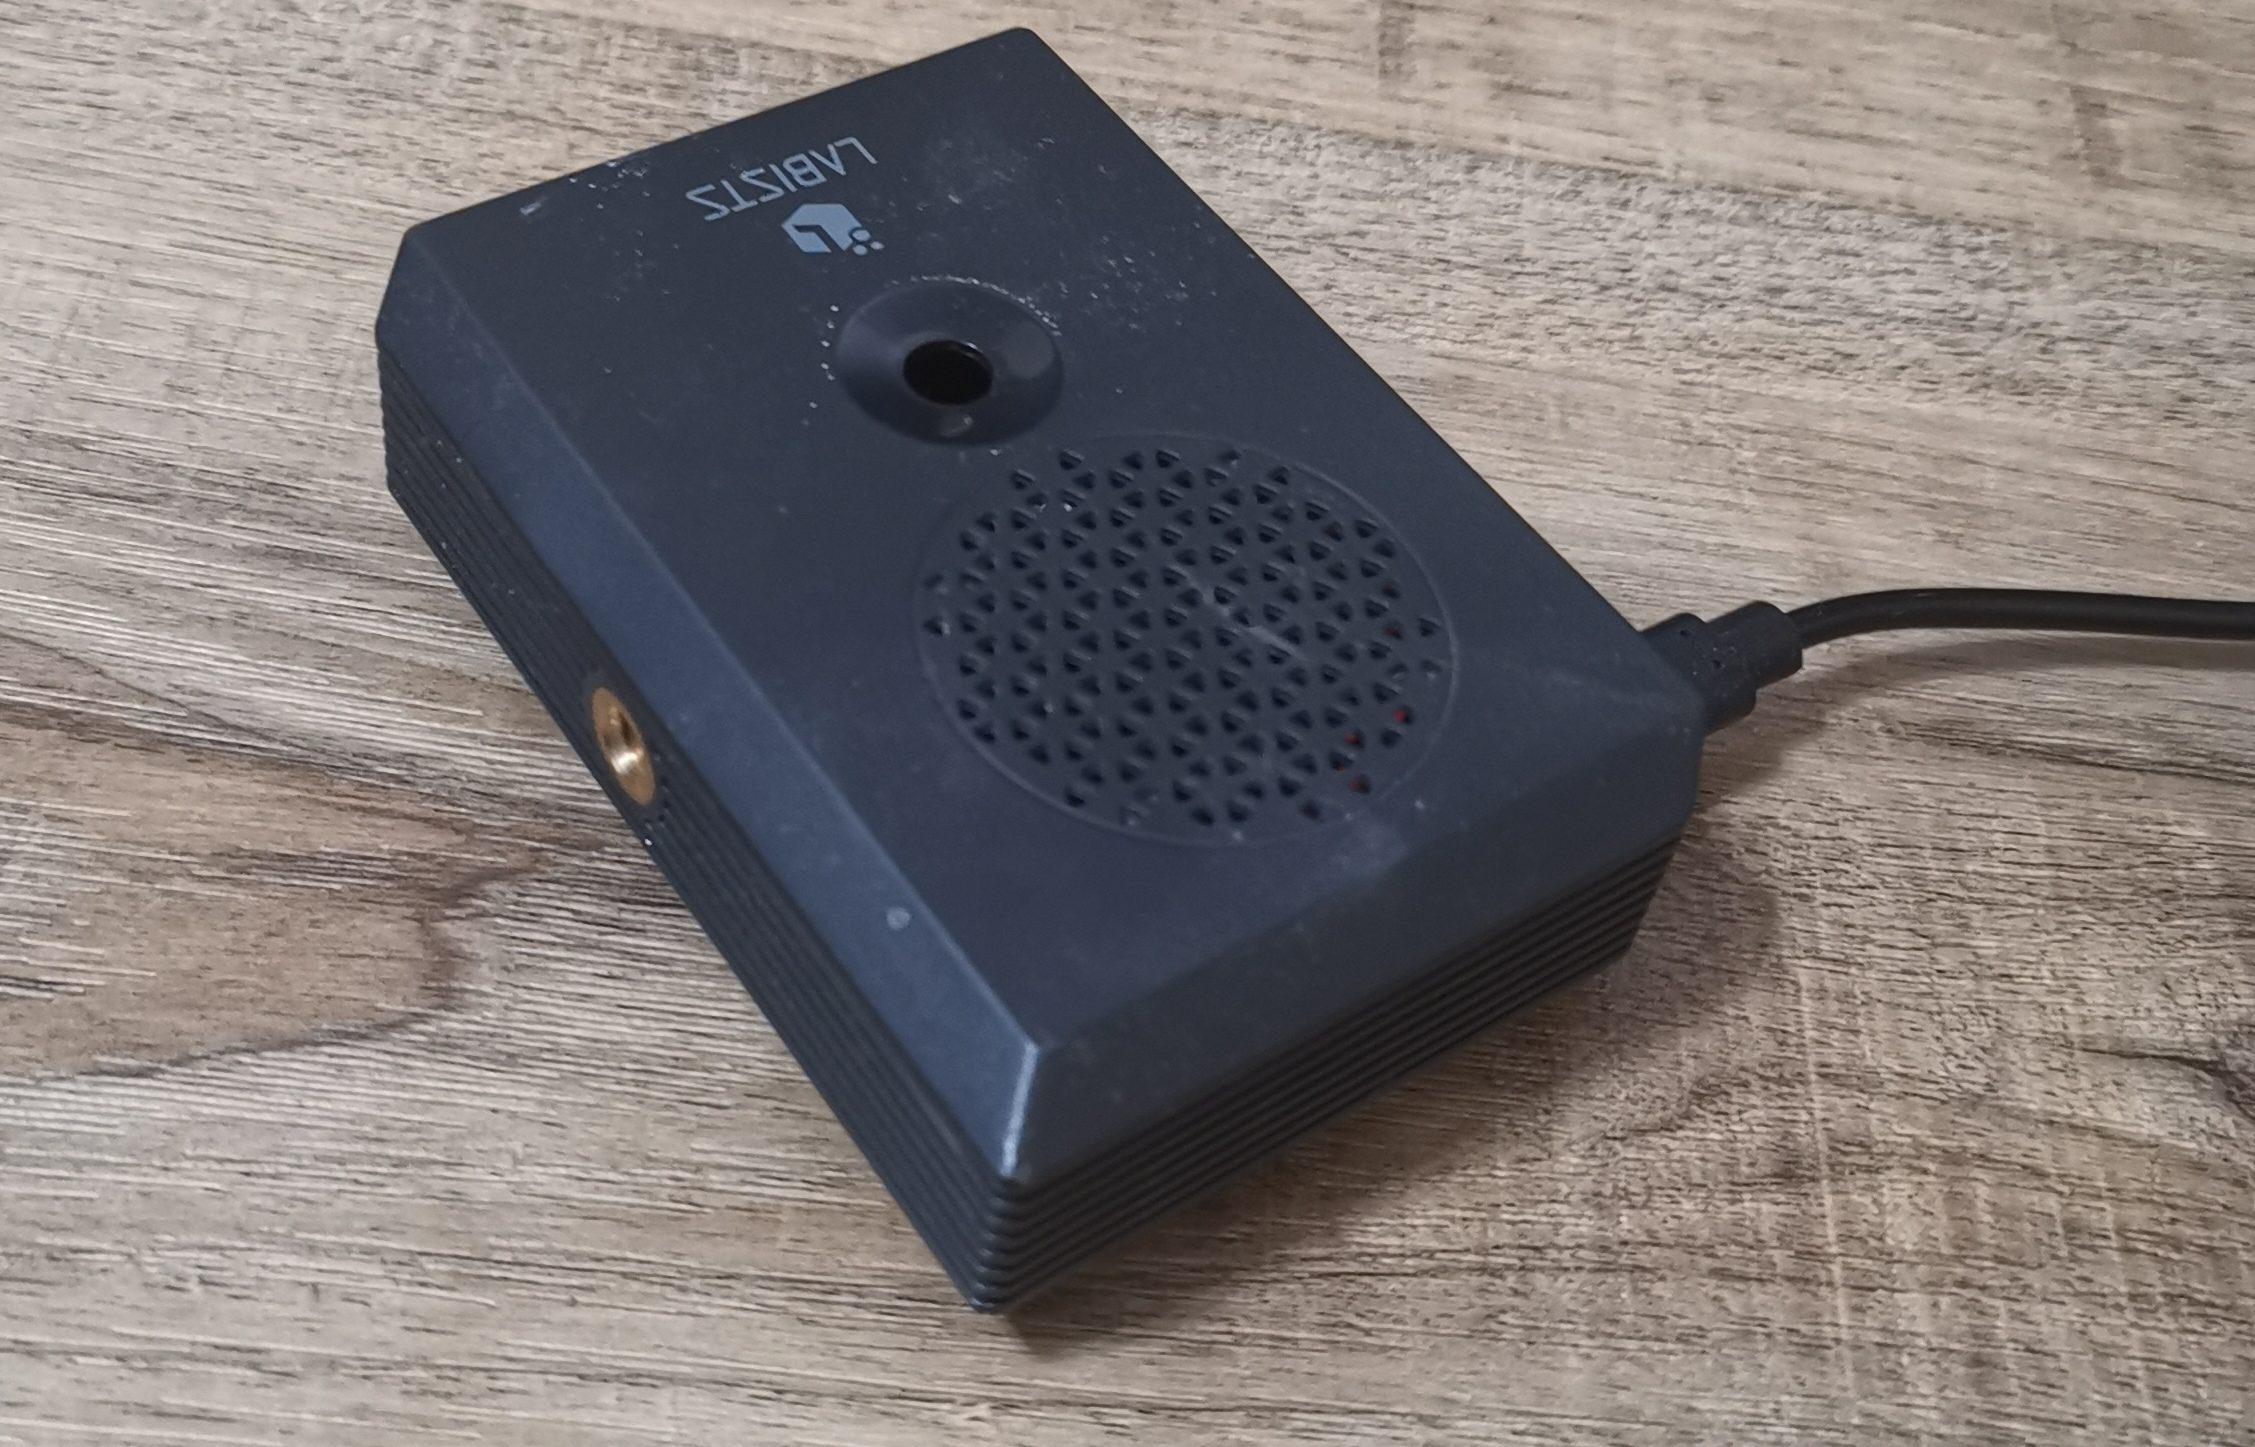
 So I have a raspberry pi 4 kicking around. It used to be a retro gaming console, but due to an unfortunate accident with water, it’s USB ports are no longer functioning. It’s been sitting in a drawer in my house for several months now and I’ve decided to try using it as a web server. If you are reading this then, chances are, it was served to you from the webserver install described in this article. Pretty cool.
Installing Ubuntu Server 20.04 LTS
So to begin with I have downloaded and installed the Raspberry Pi imager directly from https://www.raspberrypi.com/software/. Installation is really straight forward and they have a version for all operating systems. On linux, it’s available as a snap package too, for easy install on all distrobutions. I will be installing Ubuntu Server on a 128Gb MicroSD card that came with my Raspberry Pi bundle. The SD card is connected to my pc with a USB card reader that conveniently came with the Pi kit as well.
After opening the imager application, I click the CHOOSE OS button. From there I navigate to Other general purpose os –> Ubuntu –> Ubuntu Server 20.04.3 LTS.
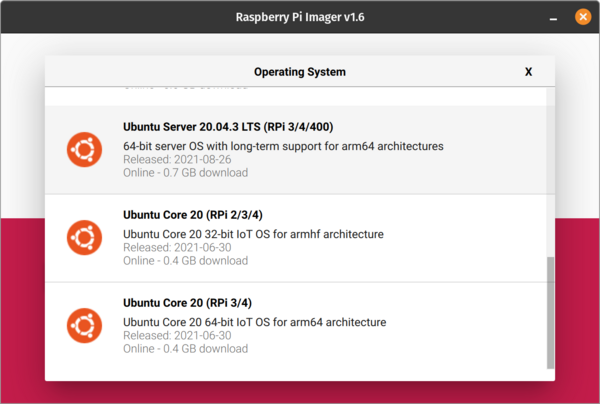
I made sure to select the 64 bit operating system, since the raspberry pi4 has a 64 bit processor. Once the operating system has been selected, I click the CHOOSE STORAGE button.
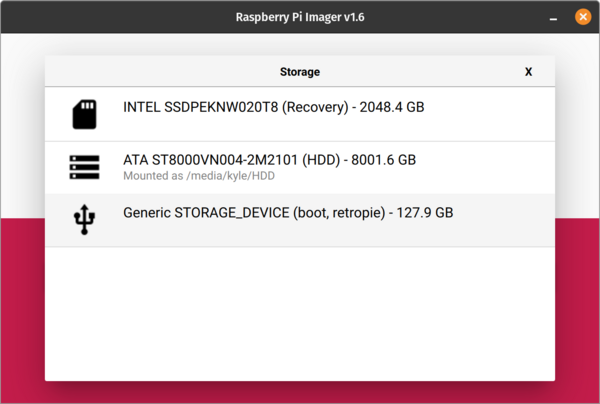
If you are following along, be certain to choose the correct storage device and only write to a card or device that you do not have important data on. The process of writing to that device will destroy everything that is currently on it. Since my card still has retropie installed, it’s easy to identify. After verifying that I am writing to correct device, I click the write button.
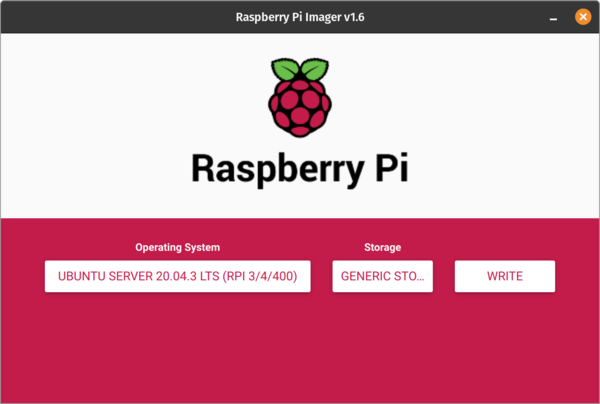
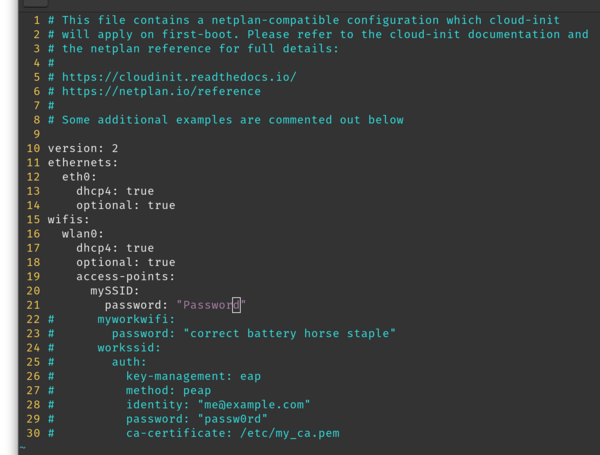
At this point the imager application downloaded Ubuntu Server image for me and insalled it on my SD card. If I were going to plug in my new server to a switch directly, I would be done. But since I am planning to use this over wifi and this is a headless install, I have a couple more steps. I navigate to the system-boot partition of the SD card and locate the network-config file. I open the file in a text editor and uncomment the lines for wifi setup. In the image below they are lines 15-21. I made sure to add mySSID and change the Password in quotes.
After the network-config file was updated, I found the user-data file in the same directory and opened it in a text editor. I appended the following block to the bottom of the file.
power_state:
mode: rebootSetting up the Webserver
I safely ejected my SD card from my pc and placed it in the card slot of the Pi. After powering on the Pi and waiting about 5 minutes, I logged in to my router to find the ip that was leased to the Pi. Armed with this information I was set to ssh into my new addition to the network.
SSH ubuntu@IPaddressTo ensure that I can always find my, now more agreeable, Pi, I once again logged into my router and set up a static ip. To get the Pi to grab the new IP I rebooted it, by typing “reboot”(I did not include the quotes). As it turns out, this command did not actually work. It’s time to get sudo.
sudo reboot tmux
sudo apt update && sudo apt dist-upgrade -y sudo apt install apache2 -yThat’s it!!
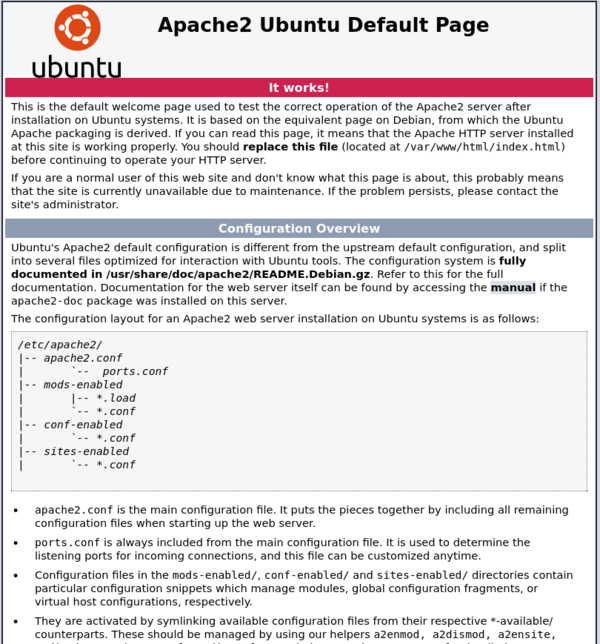
Well sort of. I still have to set up SSH keys, SSL certification, create a website, set up a firewall. I’m still going to cover configuring all of this. But at this point I can add an HTML file to /var/www/html directory and apache will serve it on port 80. In fact apache has installed a default HTML file that serves the website below. I now have a running webserver.
